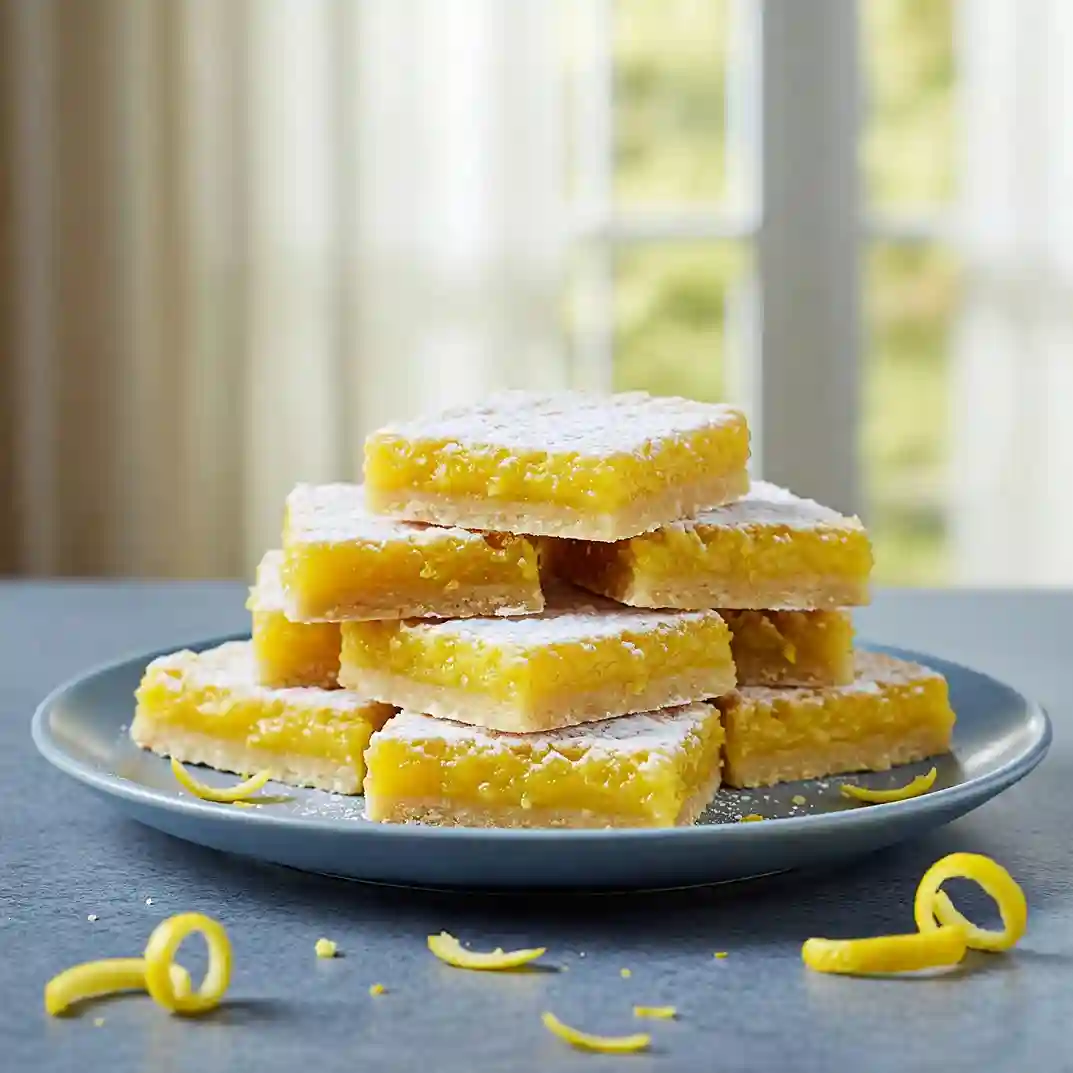
Golden on top, soft in the middle, and just the right amount of tang to make your mouth water—these lemon bars are no ordinary dessert.
There’s a quiet kind of joy in biting into something that surprises you with both texture and flavor.
The base is firm but tender, buttery enough to melt the moment it touches your tongue.
Then comes the filling, smooth and vibrant, full of fresh lemon that doesn’t hold back. This recipe doesn’t rush anything.
Each step is about care—pressing the crust until it’s just even, mixing the lemon filling until it’s silky and clear, dusting the top only when everything is fully chilled and ready.
Nothing about it feels rushed, and that’s the whole point.
These bars hold their shape beautifully, cut clean, and layer like they’re made for the spotlight—if the spotlight was your kitchen table on a quiet afternoon.
No extras needed. Just a good lemon, a steady hand, and a bit of patience. They don’t scream for attention, but once they’re on the plate, they tend to be the first to disappear.
Perfectly Tangy & Buttery Lemon Bars Recipe
Ingredients
For The Shortbread Crust
- 1 cup (226g) unsalted butter, softened to room temperature
- ½ cup (65g) powdered sugar, plus more for dusting
- 2 cups (250g) all-purpose flour
- ¼ teaspoon fine sea salt
- 1 teaspoon pure vanilla extract
For The Lemon Filling
- 1 ½ cups (300g) granulated sugar
- ¼ cup (30g) all-purpose flour
- 4 large eggs, at room temperature
- ⅔ cup (160ml) freshly squeezed lemon juice (about 3–4 lemons)
- 1 tablespoon finely grated lemon zest
Instructions
Prepare The Crust
- Preheat the oven to 350°F (175°C). Line a 9×13-inch baking pan with parchment paper, leaving a slight overhang on the sides to make lifting the bars easier later.
- In a large mixing bowl, beat the softened butter and powdered sugar together until creamy and smooth—about 1 to 2 minutes.
- Add in the vanilla extract and mix until combined.
- Sift in the flour and salt. Mix just until a soft dough forms—do not overmix. It will be slightly crumbly but should hold when pressed.
- Press the dough evenly into the bottom of the prepared pan using clean hands or the flat bottom of a glass. Make sure it’s flat and compact, especially in the corners.
- Bake for 18–20 minutes or until the edges are lightly golden. While it bakes, prepare the lemon filling.
Make The Lemon Filling
- In a medium bowl, whisk together the sugar and flour.
- Add the eggs and whisk thoroughly until smooth and slightly pale—this ensures a silky curd.
- Pour in the lemon juice and zest, and mix until fully incorporated.
- Once the crust is out of the oven, pour the lemon mixture directly over the hot crust—do not let the crust cool. This helps the curd set smoothly on top without separating.
Bake & Cool
- Return the pan to the oven and bake for 22–25 minutes, or until the filling is just set in the center and no longer jiggles when gently shaken.
- Remove from the oven and let the bars cool completely at room temperature in the pan.
- Once cooled, refrigerate for at least 2 hours before slicing—this helps firm the filling and makes cutting clean squares much easier.
Serve
- Use the parchment paper overhang to lift the bars from the pan.
- Dust generously with powdered sugar just before serving. For that elegant, bakery-style finish, sift the sugar through a fine-mesh sieve.
- Slice into 2-inch squares or rectangles and garnish with extra lemon zest curls if desired.

Can I Make Lemon Bars Ahead Of Time?
Yes, lemon bars are a great make-ahead dessert. You can bake them completely, let them cool, and then store them in the refrigerator until you’re ready to serve.
In fact, lemon bars taste even better after a few hours or overnight in the fridge because the filling firms up and the flavors become richer.
- Make-ahead tip: Prepare and bake the lemon bars up to 24 hours before serving for the best texture and flavor.
- Keep chilled: Always store them in the fridge after cooling so the filling stays set and the crust doesn’t get soggy.
How Should I Store Lemon Bars?
Storing lemon bars correctly helps keep their texture perfect and their flavor fresh.
- Refrigerator storage: After cooling completely, place the lemon bars in an airtight container. They will stay fresh in the fridge for up to 5 days.
- Layer with parchment: If stacking them, place a sheet of parchment paper between each layer to prevent sticking.
- Wait to dust: Don’t add powdered sugar until just before serving. It can melt or disappear in the fridge over time.
Can I Freeze Lemon Bars?
Yes, lemon bars freeze beautifully if done right. Freezing helps extend their life without changing taste or texture.
This is especially helpful when you want to prepare them well in advance for parties or events.
- Cool and cut first: Make sure the bars are fully cooled and cut into portions before freezing.
- Wrap tightly: Wrap each bar individually in plastic wrap, then place them in a freezer-safe bag or container.
- Use within 2–3 months: For the best taste, enjoy frozen lemon bars within this time.
- Thaw in fridge: Let them thaw overnight in the refrigerator, then dust with powdered sugar before serving.
Why Did My Lemon Bars Crack On Top?
Cracks usually happen when the filling is overbaked or the oven temperature is too high.
The filling is delicate and doesn’t need a high temperature or long time to set properly.
- Bake only until set: The lemon layer should not jiggle, but also shouldn’t be dry or brown. A tiny bit of softness in the center is okay—it will firm up as it cools.
- Use an oven thermometer: Your oven might be hotter than it says. An accurate temperature makes a big difference in texture.
How Do I Know When Lemon Bars Are Done Baking?
This is one of the most important parts of the recipe, because overbaking or underbaking can affect taste and structure.
- Edges should be slightly golden: The crust and the edges of the filling may turn lightly golden brown.
- Center should not jiggle: When you gently shake the pan, the middle should no longer move. That means the filling has set.
- Toothpick test: Insert a toothpick near the center—if it comes out mostly clean with just a few moist crumbs, it’s done.
Can I Use Bottled Lemon Juice Instead Of Fresh?
Fresh lemon juice is always best for lemon bars, but bottled can be used in a pinch.
However, the taste of bottled juice is more flat and less bright compared to fresh lemons.
- Use only pure lemon juice: Make sure your bottled lemon juice has no added sweeteners or preservatives that might affect the taste.
- Add lemon zest: To improve the flavor when using bottled juice, always add fresh lemon zest. It brings out the natural aroma and citrusy kick.
Can I Make This Recipe Gluten-Free?
Yes, you can make gluten-free lemon bars with a simple swap. Use a gluten-free all-purpose flour blend that includes xanthan gum or another binder.
These blends are made to replace regular flour 1:1 in most recipes.
- Choose a trusted blend: Pick a high-quality gluten-free flour that is suitable for baking and has a neutral taste.
- Check the crust texture: Gluten-free dough may be slightly more delicate or crumbly. Press it gently into the pan without overworking it.
Can I Make Lemon Bars Without Eggs?
Eggs are essential for setting the lemon filling, but you can try some alternatives.
The texture won’t be exactly the same, but with the right ingredients, it’s possible to create a similar custard-like layer.
- Use cornstarch and water: Combine cornstarch with water and lemon juice to create a thick, curd-like texture.
- Try egg replacers: Commercial egg replacers can help bind the filling, though the result may be slightly softer.
Why Did My Lemon Bars Come Out Runny?
If the filling is too loose or runny, it likely means it was underbaked or the ingredients weren’t properly balanced.
- Bake until set: The lemon layer needs time to firm up in the oven and fully solidify during cooling.
- Don’t reduce sugar or eggs: Both are important for structure. Changing the amounts can affect the final consistency.
- Chill before cutting: Always refrigerate lemon bars before slicing. The cold helps them set perfectly.
How Do I Cut Lemon Bars Neatly?
Getting clean, professional-looking slices is easier than you think with a few smart tricks.
- Chill first: Always refrigerate the bars for at least 2 hours before cutting. This firms up the filling and makes slicing easier.
- Use a hot knife: Dip a sharp knife in hot water, wipe it dry, and slice. Clean the knife between each cut.
- Trim the edges: For picture-perfect presentation, trim a thin border from the outer edges before serving.
You May Also Like To Check Out These Recipes
- French Crème Caramel
- Baked Chicken Wings
- Chicken Egg Rolls
- Banana Oatmeal Protein Muffins
- Classic Eggs Benedict
- Decorated Graduation Cookies
- Graduation Cupcakes
- Graduation Sheet Cake
- Memorial Day Charcuterie Board
- American Flag Cake
- Decorated Memorial Day Cookies
- Red White & Blue Cheesecake Bars
- Brownie And Chocolate Chip Cookies (Brookies)
- Traditional Banh Mi With Grilled Chicken
- Rhubarb Custard Bars
- Homemade Rhubarb Pie
- Mango Cake With Whipped Cream Frosting
- Fresh Fruit Tart
- Mexican Street Corn Dip
- Grilled Corn On The Cob With The Husks
- Sesame Crusted Tuna Steaks With Ginger-Soy Sauce
- Mango Chicken Curry
- Lamb Meatballs
- Authentic Thai Red Curry Shrimp
- Crustless Pumpkin Pie
- Corn And Black Bean Salsa