When I think back to Halloweens that felt the most alive, it’s always the little details that come rushing in—the laughter of kids sorting through candy, the buzz of doorbells, and the smell of chocolate in the kitchen.
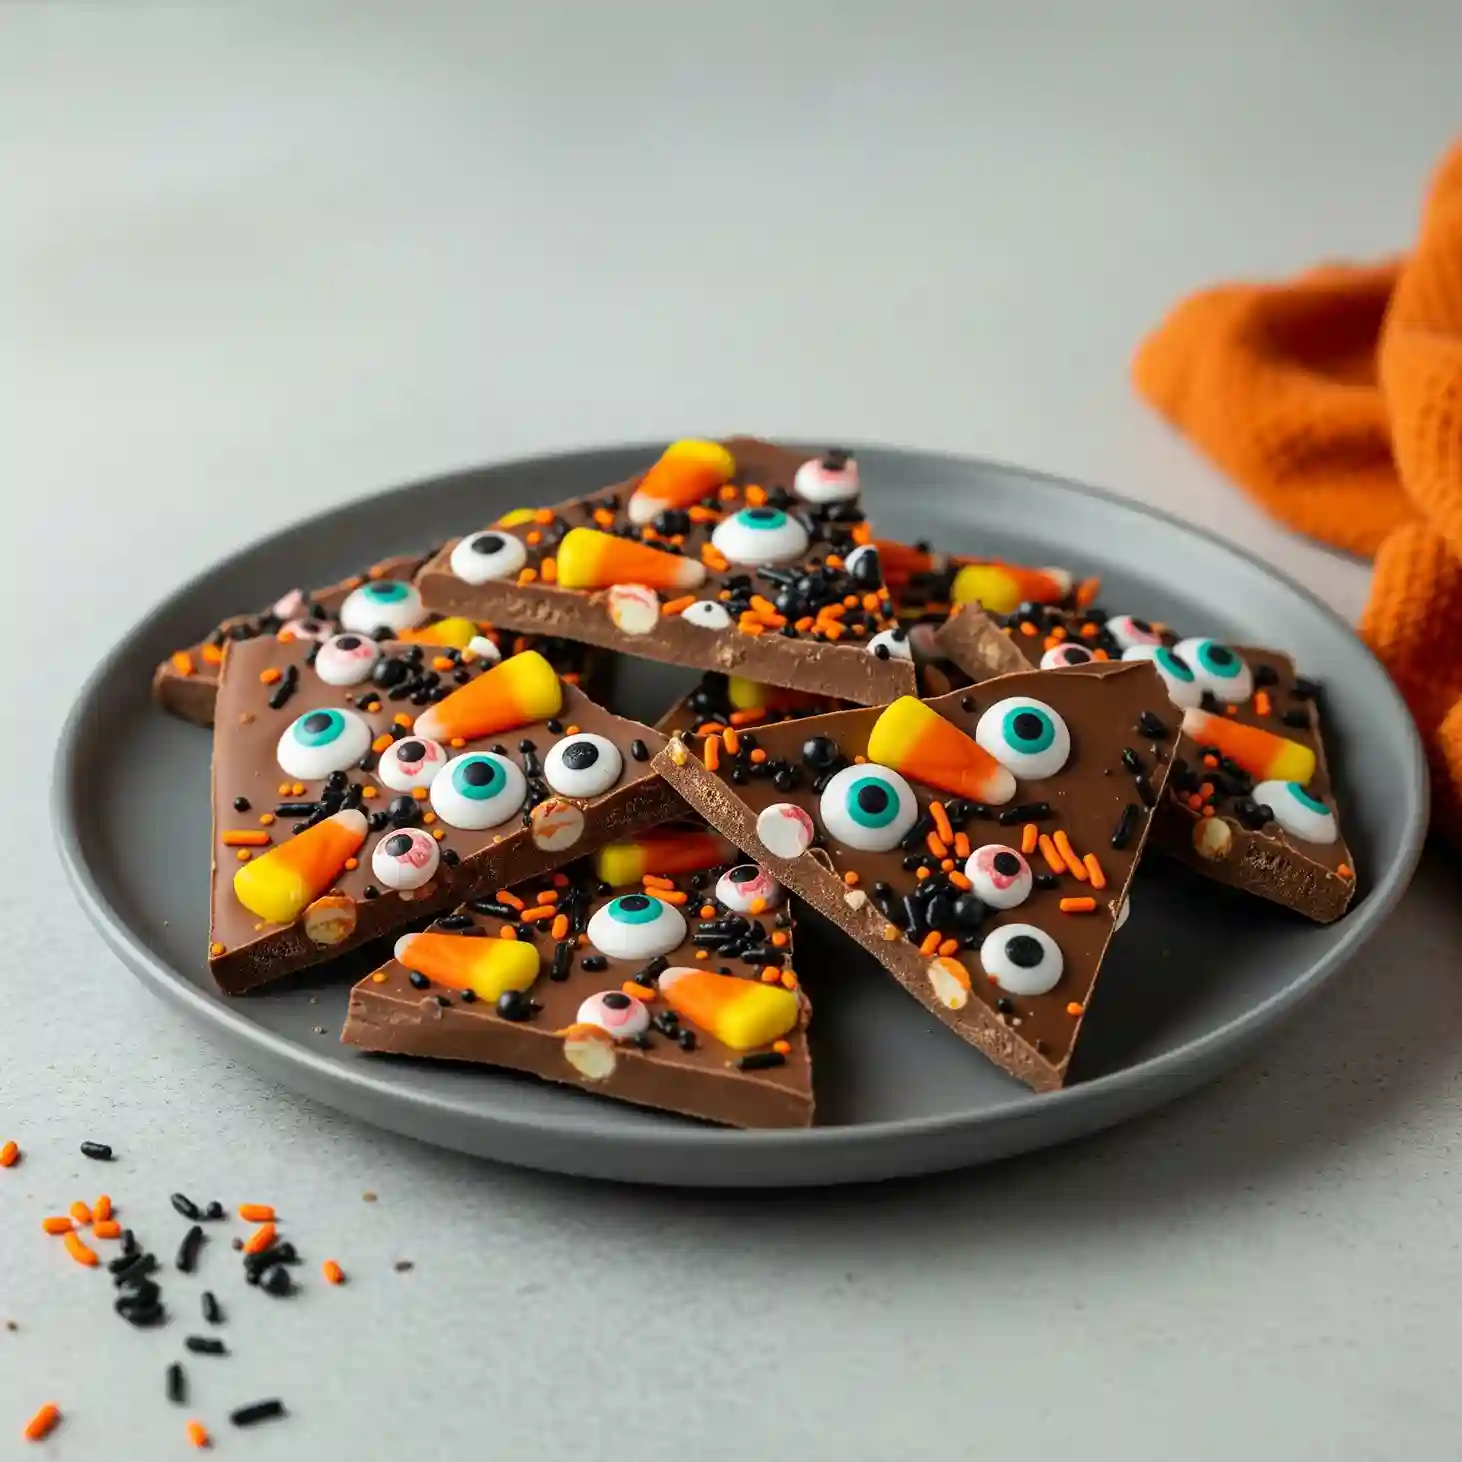
Chocolate bark became a tradition in my house almost by accident. I melted a batch one October evening and decided to scatter candy corn and candy eyes over the top, just to see how it would turn out.
The result was so fun, it disappeared faster than any other treat on the table.
It’s playful, crunchy, and has that mix of textures that makes you want to break off piece after piece.
Kids love spotting the candy eyeballs, adults sneak an extra corner, and everyone ends up smiling over it.
What makes it even more special is how it looks—like Halloween itself pressed into a slab of chocolate.
There’s no need to fuss or overthink; once the chocolate is spread out, decorating becomes the fun part.
This recipe is about creating a bark that feels festive enough for a party tray, yet casual enough to break apart and snack on at home.
It’s the kind of treat that earns a spot at the center of the table, not just for how good it tastes, but for the way it instantly sets the mood for the night.
Halloween Chocolate Bark Recipe
Ingredients
- 400 g milk chocolate (good quality, roughly chopped or in chips)
- 1 cup candy corn
- 1 cup candy eyeballs (different sizes for fun effect)
- 3 tablespoons orange sprinkles
- 3 tablespoons black sprinkles
- 2 tablespoons small black sugar pearls
Instructions
- Line a baking sheet with parchment paper, making sure it extends a little over the sides for easy removal later.
- Melt the milk chocolate in a heatproof bowl over simmering water or in the microwave in 30-second bursts, stirring in between until smooth and glossy.
- Pour the melted chocolate onto the prepared sheet and spread it evenly into a rectangle about ¼ inch thick using an offset spatula.
- While the chocolate is still warm and soft, gently press candy corn pieces across the surface, spacing them out evenly.
- Add candy eyeballs in different spots, mixing sizes to create a playful, spooky look.
- Sprinkle the orange sprinkles, black sprinkles, and sugar pearls over the chocolate, making sure every bite has a bit of crunch and color.
- Tap the tray lightly on the counter to help everything settle into the melted chocolate.
- Let the bark set at room temperature until completely firm, or place it in the refrigerator for about 30 minutes if you want it ready faster.
- Once hardened, lift the bark out using the parchment paper and break it into uneven pieces by hand or with a sharp knife.
- Store the chocolate bark in an airtight container at room temperature for up to 1 week, or refrigerate for up to 2 weeks. For longer storage, freeze in a sealed bag for up to 2 months.

What Type Of Chocolate Should I Use For Halloween Chocolate Bark?
Choosing the right chocolate makes all the difference in how your bark tastes and looks.
- Milk chocolate: Smooth, sweet, and creamy, making it the most popular choice for kids.
- Dark chocolate: Offers a richer flavor that balances the sweetness of candy corn and sprinkles.
- White chocolate: Great for swirling with darker chocolates or creating a bright base that highlights colorful toppings.
- Good quality matters: Use chocolate that melts easily and sets firmly without turning dull or grainy.
Can I Use Different Toppings For Halloween Chocolate Bark?
Toppings are what make chocolate bark playful and fun, and you can easily switch them up.
- Candy corn and candy eyeballs: Keep the bark true to its Halloween theme.
- Sprinkles in different colors: Add vibrancy and crunch.
- Mini pretzels or popcorn: Provide a salty twist that pairs well with sweet chocolate.
- Marshmallows or gummies: Add chewy bites for variety.
Mixing different textures and colors keeps the bark exciting, but candy corn and eyeballs give it the festive Halloween look everyone loves.
How Do I Melt Chocolate Without Burning It?
Melting chocolate the right way is key to achieving smooth bark without lumps.
- Microwave method: Heat chocolate in 30-second intervals, stirring each time until smooth.
- Double boiler method: Place a heatproof bowl over simmering water and stir until melted.
- Do not overheat: Stop heating when the chocolate is nearly melted, then stir to finish.
- Keep it dry: Any moisture in the bowl can cause the chocolate to seize.
How Can I Prevent White Streaks On Chocolate Bark?
Sometimes chocolate gets white streaks or spots, known as blooming. It does not affect taste but looks less appealing.
- Cool, dry storage: Keep chocolate away from direct heat and humidity.
- Careful melting: Overheating can cause cocoa butter to separate and form streaks later.
- Use airtight containers: Prevents moisture from creating marks on the chocolate surface.
How Do I Store Halloween Chocolate Bark?
Proper storage keeps bark crunchy, colorful, and fresh for longer.
- At room temperature: Store in an airtight container for up to 1 week in a cool place.
- In the refrigerator: Keeps bark fresh for around 2 weeks, but allow it to return to room temperature before serving.
- In the freezer: Store in a sealed freezer bag with parchment between layers for up to 2 months.
- Avoid moisture: Humidity softens candy toppings and makes chocolate sticky.
Can Kids Help Make Halloween Chocolate Bark?
Kids love this recipe because they can decorate it with creativity and have fun in the process.
- Decorating part: Children can add eyeballs, candy corn, and sprinkles.
- Adult role: Melting chocolate should be handled by adults for safety.
- Personal touch: Allow kids to design their own piece of bark, which makes them more excited to share it.
Can I Prepare Halloween Chocolate Bark Ahead Of Time?
Yes, this bark is a make-ahead treat that stays delicious for days.
- 2–3 days in advance: Make the bark and store in a container until serving.
- For parties: Break the bark into pieces just before setting it out for a neat look.
- Freezing option: Store early batches in the freezer and thaw in the fridge a day before serving.
You May Also Like To Check Out These Recipes
- Crustless Pumpkin Pie
- Pumpkin Cream Cheese Muffins
- Baked Cinnamon Apples
- Oven Roasted Sweet Potatoes Wedges
- Roasted Sweet Potato Black Bean Bowl
- Pumpkin Pie Cookies
- Pumpkin Chocolate Chip Cookies
- Halloween Pumpkin Cake
- Creamy Pumpkin Soup With Roasted Seeds
- Soft & Fluffy Pumpkin Chocolate Chip Muffins
- Sweet Potato Casserole With Marshmallows
- Homemade Pumpkin Pie
- Decorated Pumpkin Shaped Cookies
- Mini Pumpkin Cheesecakes
- Pumpkin Cake With Cinnamon Cream Cheese Frosting
- Starbucks Pumpkin Cream Cheese Muffins
- Strawberry Icebox Cake
- Healthy Chocolate Zucchini Cake
- Moist Chocolate Cake
- Dubai Chocolate Pistachio Mousse Cake
- Neapolitan Cake
- Moist & Fluffy Blueberry Cake
- Strawberry Shortcake
- Angel Food Cake
- Cookies And Cream Cupcakes
- Funfetti Cupcakes
- Easy Tres Leches Cake With Box Mix
- Old-Fashioned Date Cake
- Vegan Apple Cake
- Delicious Sunset Cake
- Moist Plum Cake
- Under The Sea Cake With Ocean Decorations
- Jack Nightmare Before Christmas Cake
- Halloween Charcuterie Board
- Halloween Fruit Platter