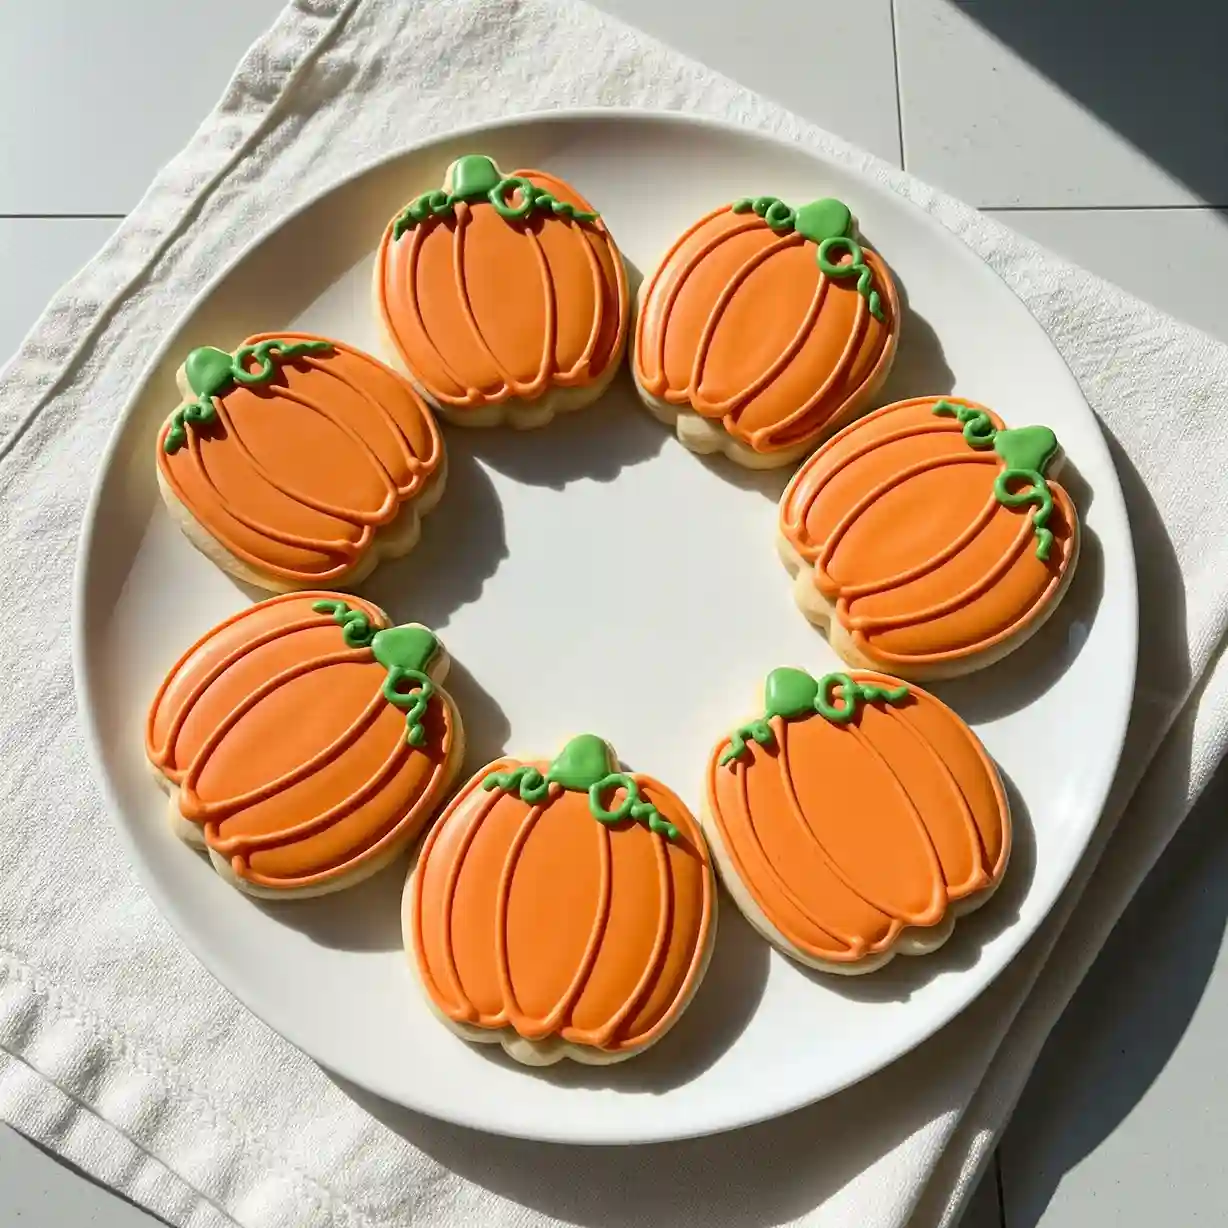
Pumpkin-shaped cookies bring a touch of charm to any table, and these ones are all about that smooth, bakery-style finish.
The cookies themselves are soft, buttery, and hold their shape beautifully after baking, which makes them the perfect base for detailed decoration.
Once cooled, they’re covered in a glossy layer of orange royal icing, then piped with delicate green stems and tiny vines for a look that’s both playful and polished.
These cookies aren’t just fun to make — they’re the kind people pause to admire before taking a bite. The shape is crisp and defined, the colors are vibrant, and the texture is tender without being crumbly.
They work wonderfully for seasonal gatherings, autumn bake sales, or simply as a thoughtful treat to share with friends and family.
The decorating process is straightforward but rewarding, with each cookie turning into its own little masterpiece.
From the first smooth coat of icing to the final swirl of a vine, every detail adds to the charm.
By the time they’re done, you’ll have a plate full of bright orange pumpkins that look like they came straight from a professional bakery — only fresher and made with your own hands.
Decorated Pumpkin Shaped Cookies Recipe
Ingredients
For The Cookies
- 1 cup unsalted butter, softened
- 1 cup fine granulated sugar
- 1 large egg, room temperature
- 1 teaspoon pure vanilla extract
- 1 teaspoon almond extract
- 3 cups all-purpose flour
- 1 ½ teaspoons baking powder
- ½ teaspoon salt
For The Royal Icing
- 4 cups powdered sugar, sifted
- 3 tablespoons meringue powder
- 6–7 tablespoons room temperature water (adjust for consistency)
- 1 teaspoon pure vanilla extract
- Orange gel food coloring
- Green gel food coloring
Instructions
- In a large mixing bowl, cream together the butter and sugar until light and fluffy, about 2–3 minutes using an electric mixer on medium speed.
- Add the egg, vanilla extract, and almond extract. Mix until fully incorporated, scraping down the sides of the bowl.
- In a separate bowl, whisk together the flour, baking powder, and salt.
- Gradually add the dry ingredients to the wet ingredients, mixing on low until a dough forms. Do not overmix.
- Divide the dough in half, shape into discs, and wrap each in plastic wrap. Chill for at least 1 hour, or until firm enough to roll without sticking.
- Preheat the oven to 175°C (350°F) and line baking sheets with parchment paper.
- On a lightly floured surface, roll out one disc of dough to about 6 mm (¼ inch) thickness. Keep the other disc chilled until ready to use.
- Using a pumpkin-shaped cookie cutter, cut out shapes and carefully transfer them to the prepared baking sheets, leaving space between each cookie.
- Bake for 8–10 minutes, or until the edges are just starting to turn golden. Avoid overbaking for a soft texture.
- Let the cookies cool on the baking sheet for 5 minutes, then transfer to a wire rack to cool completely before decorating.
- To prepare the royal icing, combine the powdered sugar, meringue powder, and water in a large mixing bowl. Beat on low speed for 30 seconds, then on medium speed for 5–7 minutes until stiff peaks form.
- Add vanilla extract and mix until smooth. Divide icing into two portions. Tint one portion with orange gel coloring and the other with green gel coloring.
- Transfer each color into separate piping bags fitted with small round tips.
- Outline each cookie with orange icing, then flood the inside. Use a toothpick to guide icing into corners and smooth the surface.
- Allow the orange icing to set slightly, then pipe vertical lines for the pumpkin ridges.
- With the green icing, pipe a small stem at the top of each pumpkin and add decorative swirls for vines.
- Let cookies dry completely at room temperature for several hours or overnight before storing or serving.

How Do I Get The Pumpkin Shape For These Cookies?
For the classic pumpkin look, you’ll need a pumpkin-shaped cookie cutter.
- Use a metal cookie cutter: Metal cutters give sharper, cleaner edges compared to plastic ones.
- Chill the dough before cutting: Cold dough keeps the shape from stretching or distorting when you lift it.
- Flour the cutter lightly: This prevents the dough from sticking and helps you release the shape without breaking it.
- Press straight down: Avoid twisting the cutter, as this can blur the edges.
You can also make a template from cardboard if you don’t have a cutter, then cut around it with a sharp knife for a custom look.
How Can I Make The Royal Icing Smooth And Shiny?
The key to smooth, glossy icing is controlling the consistency and working in the right order.
- Use the right icing consistency: For outlining, icing should be slightly thicker. For flooding, it should be thinner so it spreads smoothly without running off the edges.
- Work quickly: Once you flood the cookie, use a toothpick or scribe tool to fill any gaps before the surface begins to dry.
- Let each layer set before adding details: This prevents colors from blending together and keeps lines sharp.
- Dry at room temperature: Avoid the fridge, as condensation can dull the shine.
Can I Prepare The Dough Ahead Of Time?
Yes, you can prepare the cookie dough in advance to save time on baking day.
- Refrigerate for up to 3 days: Wrap the dough tightly in plastic wrap and keep it chilled until ready to roll.
- Freeze for up to 2 months: Wrap the dough in plastic wrap, then in foil, and thaw overnight in the fridge before rolling.
- Shape before freezing for quicker baking: You can cut the dough into pumpkin shapes, freeze them on a tray, then store them in an airtight container until you’re ready to bake.
How Do I Store Decorated Pumpkin Shaped Cookies?
Proper storage keeps your cookies fresh and the icing intact.
- Room temperature: Store in a single layer in an airtight container for up to 1 week. If stacking, place parchment paper between layers to protect the icing.
- Freezing undecorated cookies: Wrap cooled cookies in plastic wrap, place in an airtight container, and freeze for up to 2 months.
- Avoid freezing decorated cookies: The icing can develop condensation spots and lose its smooth appearance after thawing.
How Long Does The Royal Icing Take To Dry Completely?
Royal icing needs enough time to harden so it won’t smudge when stored or packaged.
- Surface dry time: Usually 2–4 hours for the top layer to set enough for light handling.
- Fully dry time: Around 8–12 hours for the icing to harden completely, depending on the humidity in your home.
- Dry in a well-ventilated area: Keep the cookies uncovered on a flat surface away from moisture until they’re fully dry.
How Can I Pack These Cookies As Gifts Without Damaging Them?
Beautiful cookies deserve to arrive in perfect condition.
- Individually wrap each cookie: Use clear cellophane bags and seal them tightly to protect freshness.
- Add a protective layer: Place bubble wrap or tissue paper between layers if packing in a box.
- Use sturdy boxes: Choose boxes that fit snugly so cookies don’t shift during transport.
- Avoid stacking too high: Keep layers low to prevent the weight from damaging the icing.
Can I Use Natural Food Coloring Instead Of Gel?
Natural coloring works, but you’ll need to adjust for intensity.
- Use concentrated natural powders: Such as beet powder for red tones or turmeric for yellow, which can mix to make orange.
- Expect softer shades: Natural colors are less vibrant than gel food coloring but still attractive.
- Mix thoroughly: This ensures an even tone throughout the icing without streaks.
You May Also Like To Check Out These Recipes
- Crustless Pumpkin Pie
- Pumpkin Cream Cheese Muffins
- Baked Cinnamon Apples
- Oven Roasted Sweet Potatoes Wedges
- Roasted Sweet Potato Black Bean Bowl
- Pumpkin Pie Cookies
- Pumpkin Chocolate Chip Cookies
- Halloween Pumpkin Cake
- Creamy Pumpkin Soup With Roasted Seeds
- Soft & Fluffy Pumpkin Chocolate Chip Muffins
- Sweet Potato Casserole With Marshmallows
- Homemade Pumpkin Pie